|
This effect was done with Adobe Photoshop CS4.
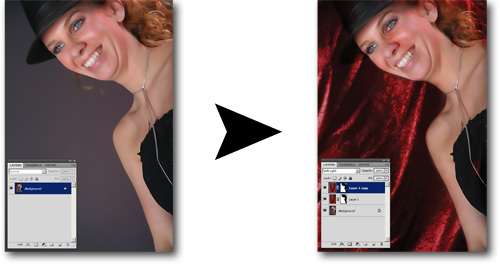
When shooting with a gray background, here is an easy method to replace the background with something else. Note that you still have to be careful with the lighting. The example below isn't too concerned with that, it merely shows how to quickly composite a new background on top of a gray background.
The whole procedure is summarized in the image below and takes a few minutes:
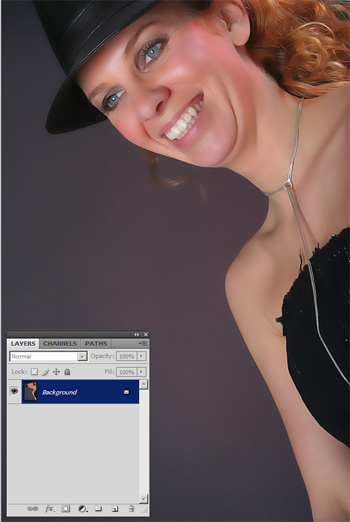 |
Load the original image. |
| |
|
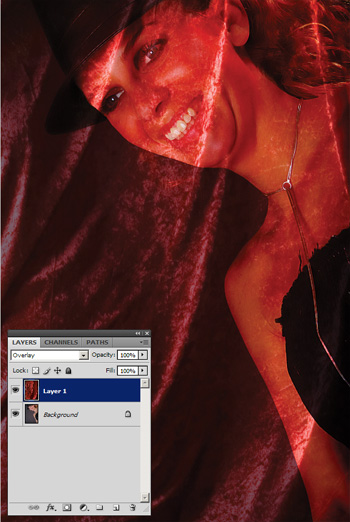 |
Add the background image and set the layer mode to 'Overlay'. You can also use 'Soft light', which gives a softer appearance. With 'Overlay', the backdrop shines through harder. Both methods make the backdrop slightly darker than the original though; you may need to adjust using a Curves layer for that if you find the result not to your liking. |
| |
|
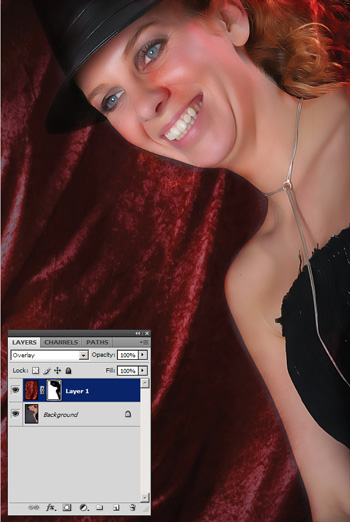 |
Add a mask layer (click on the rectangle+circle button at the bottom line in the 'Layers' palette). Then mask out the background where the model gets overlayed. You can get pretty messy with the mask before it really becomes too visible, so this is a fast method.
For those unfamiliar with masking, use the brush (key 'b'), click the black & white mask image and start painting. Anything black is masked out.
You should quickly be getting this picture. |
| |
|
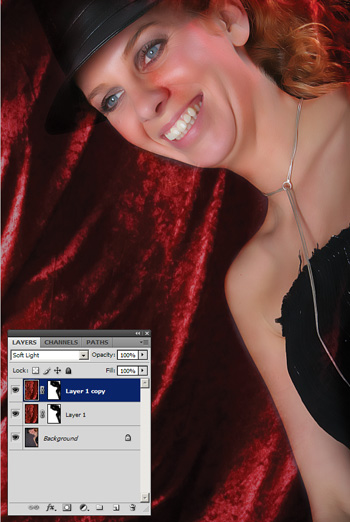 |
The original backdrop is a bit darker. An alternative is to set the backdrop layer's mode to 'Soft light', then duplicate the layer (Ctrl-J). This gives a more saturated version and is slightly different from a single backdrop layer with its mode set to Overlay. |
Return to list
of post process tutorials.
|