photography

Home | Photos on Flickr | Photos on Zoom | My Dutch Photopage

Postprocessing - overlay diffusion

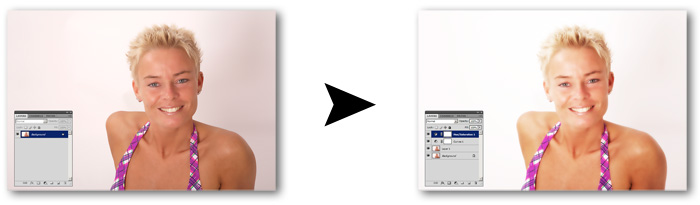
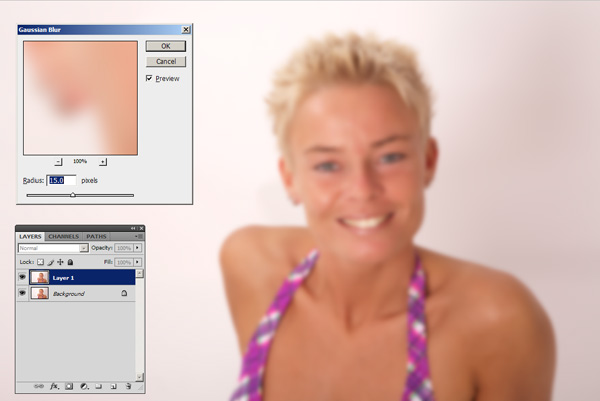
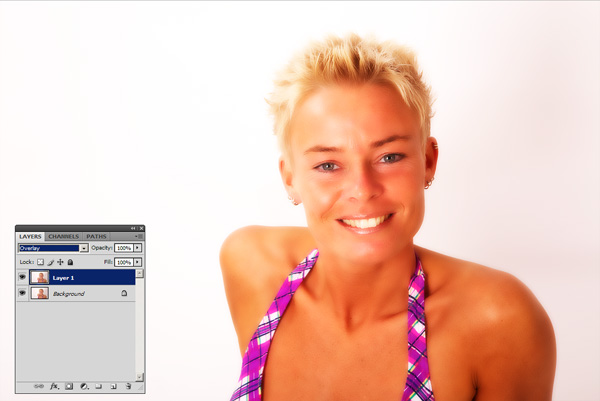
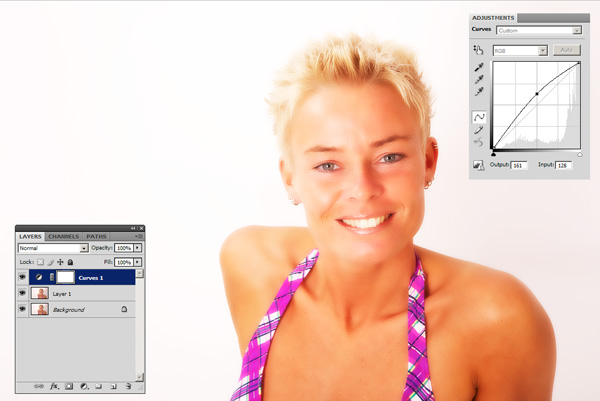
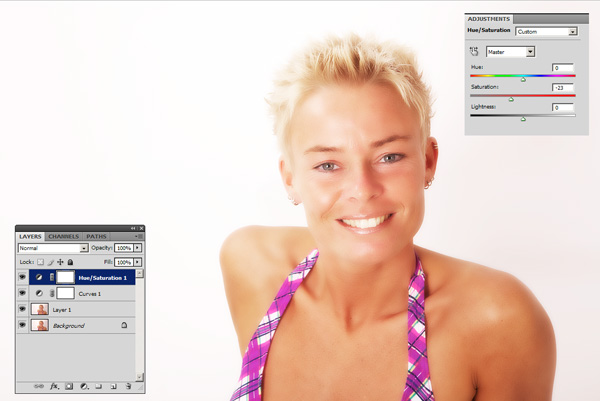
This effect was done with Adobe Photoshop CS4. Thanks to model Bonnie for posing.

Overlay diffusion - blowing out highlights

The technique of overlay diffusion works especially well with photographs shot on a white background. It will enhance contrast and slightly blow out highlights. It uses a bit of Gaussian blur and the Overlay layer mode.

The whole procedure is summarized in the image below and takes a few minutes:
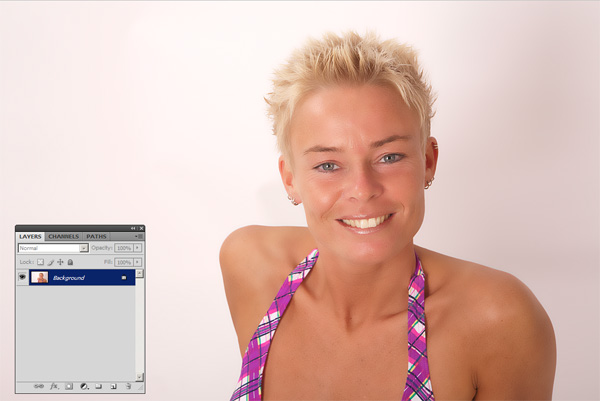
overlay diffusion

The steps

overlay diffusion First, load the original image.
   
overlay diffusion Clone the layer (Ctrl-J) and apply a Gaussian filter. This one uses around 15 pixels, with a 10 megapixel photograph.
   
overlay diffusion

Set the new layer's mode to Overlay. Notice the image now gets a bit too saturated. We'll work on that.

   
overlay diffusion

First, add a Curves adjustment layer to add a bit of lighting. This makes the highlights blow out a bit and generally smoothens the skin.

It's still a bit too saturated though...

   
overlay diffusion Add a 'Hue/Saturation' layer now to reduce some of the saturation. Here, I used -23, but adjust this to your liking.

Return to list of post process tutorials.

(c) 2006-2011 Dolphinity B.V. / Ruud van Gaal